RCA connectors have been the backbone of consumer audio/video gear for decades, enabling analog signal transfer between components. While digital connections like HDMI and optical have grown in popularity, RCA outputs are still widely used in home theater receivers, turntables, TVs, gaming consoles, and more.
To get peak performance from your audio system, it’s important to ensure these RCA outputs are functioning properly and sending robust signal levels. This is where using a multimeter comes in handy.
What is a Multimeter and Why Use it for RCA Outputs?
A multimeter is an indispensable electrical measurement tool found in most technicians’ toolboxes. It allows you to test voltage, current, resistance, continuity, and other parameters.
When set to AC voltage mode, a multimeter can accurately measure the strength of the analog audio signal being transmitted over RCA cables between your components. This provides objective data to troubleshoot connectivity issues or subpar sound quality.
Typical RCA output voltage levels range from 0.5-4 Volts peak-to-peak. By testing your gear with a multimeter, you can determine if your RCA outputs fall within the expected range. Abnormal readings may indicate faulty cables, a problem with a source device like a Blu-ray player, or even an issue with an AV receiver input.
Safety First When Testing RCA Voltage
Electricity demands respect, so adhere to some basic precautions when using your multimeter:
- Wear eye protection – safety glasses reduce the risk of eye injury if an accident occurs.
- Power down devices – switch amplifiers and other equipment OFF before connecting the meter.
- Check leads for damage – inspect test lead insulation for cracks or exposed wire. Frayed leads increase electrical shock risk.
- Use properly rated test leads – leads supplied with your meter are engineered to safely handle expected voltages.
- Keep fingers behind the probe barriers – multimeter probes incorporate finger/hand protection. Keep hands away from the metal probe tips.
- Limit distractions – testing live electrical circuits demands your full attention.
- Double check meter setting – accidentally putting a multimeter on the wrong mode can damage the tool or connected equipment.
Step-by-Step Guide to Measuring RCA Output Voltage
Follow this straightforward process to accurately measure voltage from any RCA output using a standard digital multimeter:
Step 1: Configure Meter to AC Volts Mode
The sine wave signals carried over RCA cables represent an alternating current (AC) type voltage, not direct current (DC) found in batteries.
As such, you must switch your multimeter to measure AC voltage for correct readings. Consult your meter’s manual for the proper selector switch position. Auto-ranging multimeters will default to the correct voltage scale automatically based on the detected level.
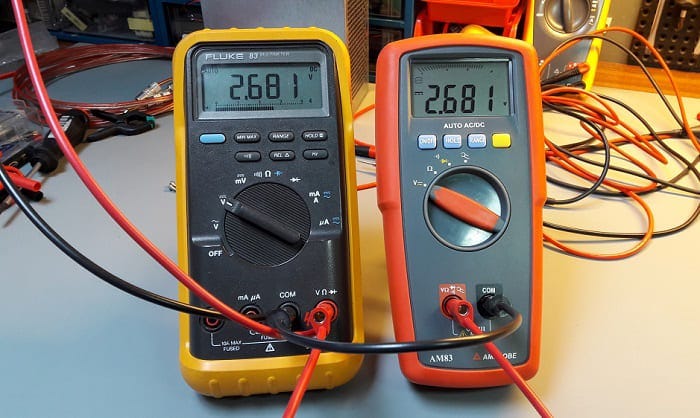
Set your multimeter to AC voltage mode for testing RCA output levels
Step 2: Insert RCA Cable Into Source Device
With your audio/video system powered down, connect an RCA cable between the source device RCA output you want to test and the multimeter.
For example, you may want to check the RCA outputs of a Blu-ray player, cable box, gaming console, turntable preamp, etc.
Make sure the cable is firmly seated into the source component’s RCA jacks to ensure good electrical contact.
Step 3: Attach Multimeter Probes to RCA Cable
Attach the multimeter’s red test probe to the center pin of the RCA plug:
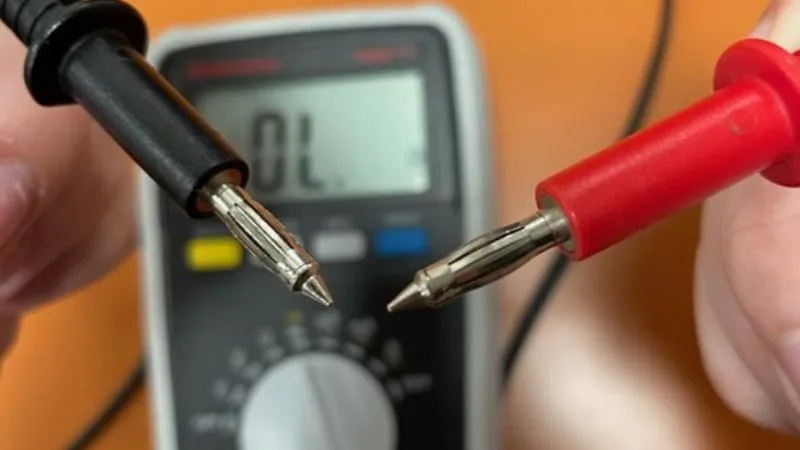
Connect the red multimeter probe to the center RCA pin
Next, attach the meter’s black test probe to the RCA plug’s outer ground sleeve:
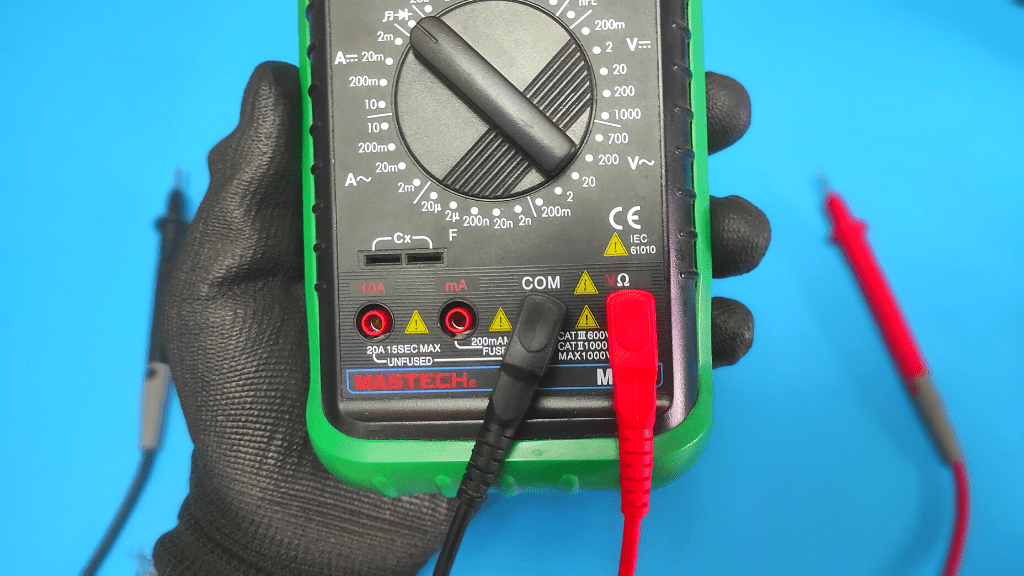
The black probe connects to the outer ground sleeve
Having one probe contacting the signal-carrying pin and the other connected to ground allows the multimeter to accurately measure the AC voltage.
Step 4: Power On Source Device
With the RCA cable connected to the source device output and the multimeter probes securely attached, power on the Blu-ray player, gaming console, etc. you are testing.
If testing a turntable or other audio-only gear, enable the test tone or play music to generate an audio signal. For a video source device, bring up the home menu or play video content to output an active A/V signal.
Step 5: Read RCA Voltage Level On Multimeter
Watch the multimeter display as audio or video signals are sent from the source device through the RCA cable. The meter will display the measured peak-to-peak AC voltage being transmitted.
Typical RCA output voltages range from around 0.5 Volts to over 4 Volts p-p depending on the type of device and the volume/signal level. Higher-end AV receivers may show 6 Volts or more.
Lower levels around 0.2-0.3V generally indicate an issue with the device output or cable/connection point. Very high levels over 5V can also suggest a problem with the source device.
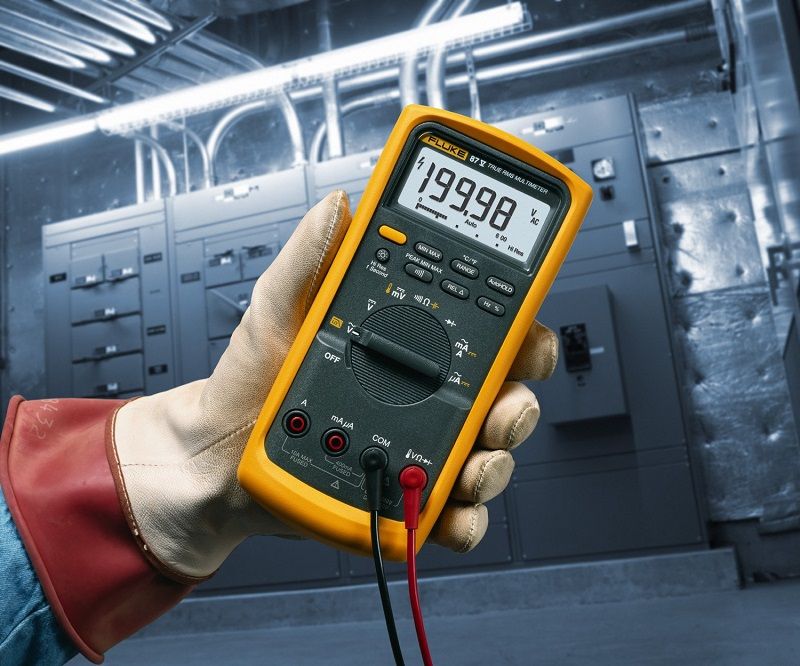
Multimeter displaying healthy 2 Volt p-p RCA output reading
Step 6: Test Across Various Use Cases
To thoroughly validate performance, test RCA output voltages across different use cases:
- Adjust source device volume from minimum to maximum
- Try different cables to rule out any defects
- Play different audio sample rates/video resolutions
- Check multiple RCA output pairs if available
- Repeat process for other source devices like additional Blu-ray players
Compare your RCA voltage measurements to expected levels published in the device’s manual or online specifications. Also note down any variability or anomalies observed during testing.
Interpreting Multimeter Readings at RCA Outputs
The RCA output voltage measured by your multimeter provides valuable information about the performance of both the source device and cable interconnect. In general:
0.5 to 4 Volts – Indicates healthy RCA performance. The higher the voltage, the stronger the signal, which optimizes A/V quality.
No Reading – Suggests a total connectivity breakdown somewhere between the device and multimeter probes. Check RCA cables and connections.
Under 0.2 Volts – Low RCA output levels can degrade sound and picture quality. Try different cables first, then investigate source device issues if persists.
Over 5 Volts – Potentially problematic overvoltage coming from a defective source device. Risks overloading inputs on connected equipment.
Remember, acceptable RCA voltage ranges can vary across different device categories and brands. Consult your owner’s manual for device-specific thresholds when possible.
Also factor in variables like production tolerance discrepancies between RCA output pairs, differing cable quality, and possible miscalibration of the multimeter itself impacting accuracy.
Troubleshooting Low or No RCA Voltage Readings
So you’ve measured the RCA output voltage of a source device and found lower than expected levels or no output at all. Before condemning cables or gear as totally failed, methodically troubleshoot these common issues:
- Faulty RCA cables – Substitute a high-quality RCA cable rather than the cheap packed-in interconnect. Patch cables are commonly to blame for low/no signal issues.
- Loose RCA connections – Check both ends of the RCA cable for loose plugs not making solid contact within the RCA jacks. Reseat connections firmly.
- Wrong multimeter setting – Reconfirm your meter is switched to AC voltage mode, not DC voltage or resistance. Incorrect configuration gives false readings.
- Blown device output – Faulty A/V components can suffer internal failures shorting or severely reducing RCA output voltages. Consider replacing if other causes are ruled out.
- Disabled audio output – Many Blu-ray players, streaming boxes, etc. have menu options to disable individual outputs. Make sure RCA output is enabled in the device settings.
If still encountering abnormal RCA voltages after methodically addressing these common issues, it’s best to seek assistance from a trained technician.
Testing RCA Output Impedance for Complete Validation
Measuring just the RCA output voltage provides useful but limited performance data. Augmenting your voltage measurements with impedance testing offers a more complete picture of RCA functionality.
Impedance represents the total opposition (resistance + reactance) to electrical current flow through a circuit. In an RCA output, this tells you how much the device circuitry impedes the audio/video signal trying to be transmitted.
Typical RCA output impedance should fall between 200 to 600 Ohms. Higher impedance can indicate cable faults or component wear-out degrading AV signal transfer.
Using the same multimeter probes connected to RCA pins, switch your multimeter to read Ohms (resistance) rather than voltage. The meter will display the measured impedance, confirming if within spec or problematic.
Combining voltage and impedance testing confirms RCA outputs are sending a healthy analog signal at the correct intensity. This comprehensive validation ensures peak performance across your entire home theater signal chain.
When to Call in a Professional for RCA Output Testing
For home electronics DIYers, RCA output voltage testing with a multimeter is typically straightforward. But if you find yourself struggling to achieve solid readings or troubleshoot issues:
Consider hiring a professional home theater calibrator or AV technician. Their specialized diagnostic tools, extensive experience, and technical expertise can efficiently identify and remedy RCA output problems.
Technicians also have access to $1000+ audio analyzers which conduct automated signal testing far beyond just measuring voltage. An Audio Precision analyzer can validate frequency response, distortion, crosstalk, jitter, and many other parameters down to microscopic levels.
While fee-based, these experts can resolve stubborn issues that waste hours of your personal troubleshooting time. They also ensure your high-value home cinema gear is performing optimally.
Get the Most From Your Audio Gear by Testing RCA Output Performance
Understanding precisely how to leverage a multimeter to quantify RCA output voltage gives home theater owners, installers, and repair technicians an invaluable diagnostic tool. When paired with impedance readings, it provides objective data to maximize AV performance and tackle tricky issues.
As RCA connections transmit analog signals throughout home cinema setups, it pays dividends to validate their integrity. So break out that multimeter and put those small yellow plugs to the test! Properly functioning RCA outputs verified through voltage and impedance readings guarantee you extract every last drop of performance from your precious audio/video components.

![[Windows 8] How to share Internet connection with your phone, tablet, other computers, and other dev](https://www.800908.com/wp-content/uploads/2021/10/1224-6.png)

