Setting up a wireless network allows you to access the internet from anywhere in your home without the clutter and limitations of wires. With a few pieces of equipment and some configuration, you can get your Windows PC connected to Wi-Fi in no time. This guide will walk you through the process step-by-step.
What You’ll Need
Before getting started, make sure you have the following:
- Broadband internet connection from an Internet Service Provider (ISP)
- Wireless router (often provided by your ISP, or can be purchased separately)
- A Windows PC with built-in wireless capability or a wireless network adapter
Steps to Set Up Your Wireless Network
1. Connect Your Wireless Router
- Plug one end of an Ethernet cable into your modem and the other end into the WAN or Internet port on your wireless router.
- Plug the wireless router’s power adapter into an electrical outlet and turn it on.
- Some ISPs provide a modem/router combo unit, in which case you can skip this step.
2. Configure Your Router’s Settings
- Connect your Windows PC to the router using an Ethernet cable plugged into one of the LAN ports.
- Open a web browser and enter your router’s default IP address to access its configuration page. This is usually 192.168.1.1 or 192.168.0.1.
- Enter the default username and password to log in. If you don’t know it, check your router’s documentation or look for it on a sticker on the device.
- Configure your wireless network name (SSID) and password. Choose a strong password to keep your network secure.
- Save your settings and disconnect the Ethernet cable.
3. Connect Your Windows PC to Wi-Fi
- Click the network icon in the taskbar on your Windows desktop.
- Select your wireless network from the list of available networks.
- Enter the password you set up in step 2 and click Connect.
- If prompted, select whether you want to make your PC discoverable to other devices on the network.
4. Verify and Secure Your Connection
- Once connected, open a web browser and try loading a webpage to confirm you have internet access.
- To further secure your network:
- Change your router’s default login username and password.
- Enable the highest level of encryption supported by your router, preferably WPA2 or WPA3.
- Disable remote administration and WPS if your router supports it.
- Keep your router’s firmware up to date.
Troubleshooting Tips
- If your PC doesn’t have built-in Wi-Fi, make sure you have a wireless network adapter installed. You can check in Device Manager under Network Adapters.
- If you don’t see your network in the list of available networks, try moving your PC closer to the router.
- Double-check that you’re entering the correct wireless password. It is case-sensitive.
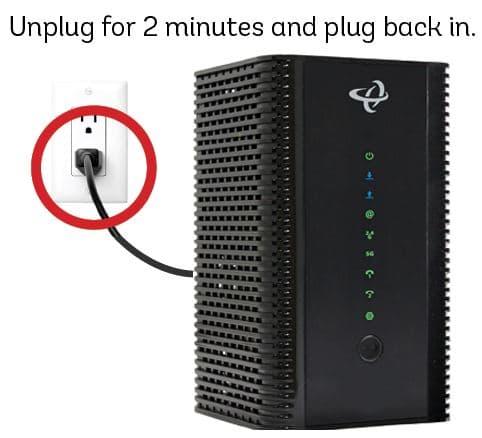
- Restart your modem, router, and PC to resolve many common connection issues.
Conclusion
With your wireless network now set up, you can enjoy the freedom and convenience of accessing the internet from any room in your home. By following these steps and implementing strong security measures, you’ll have a fast, reliable Wi-Fi connection for all your Windows devices.


