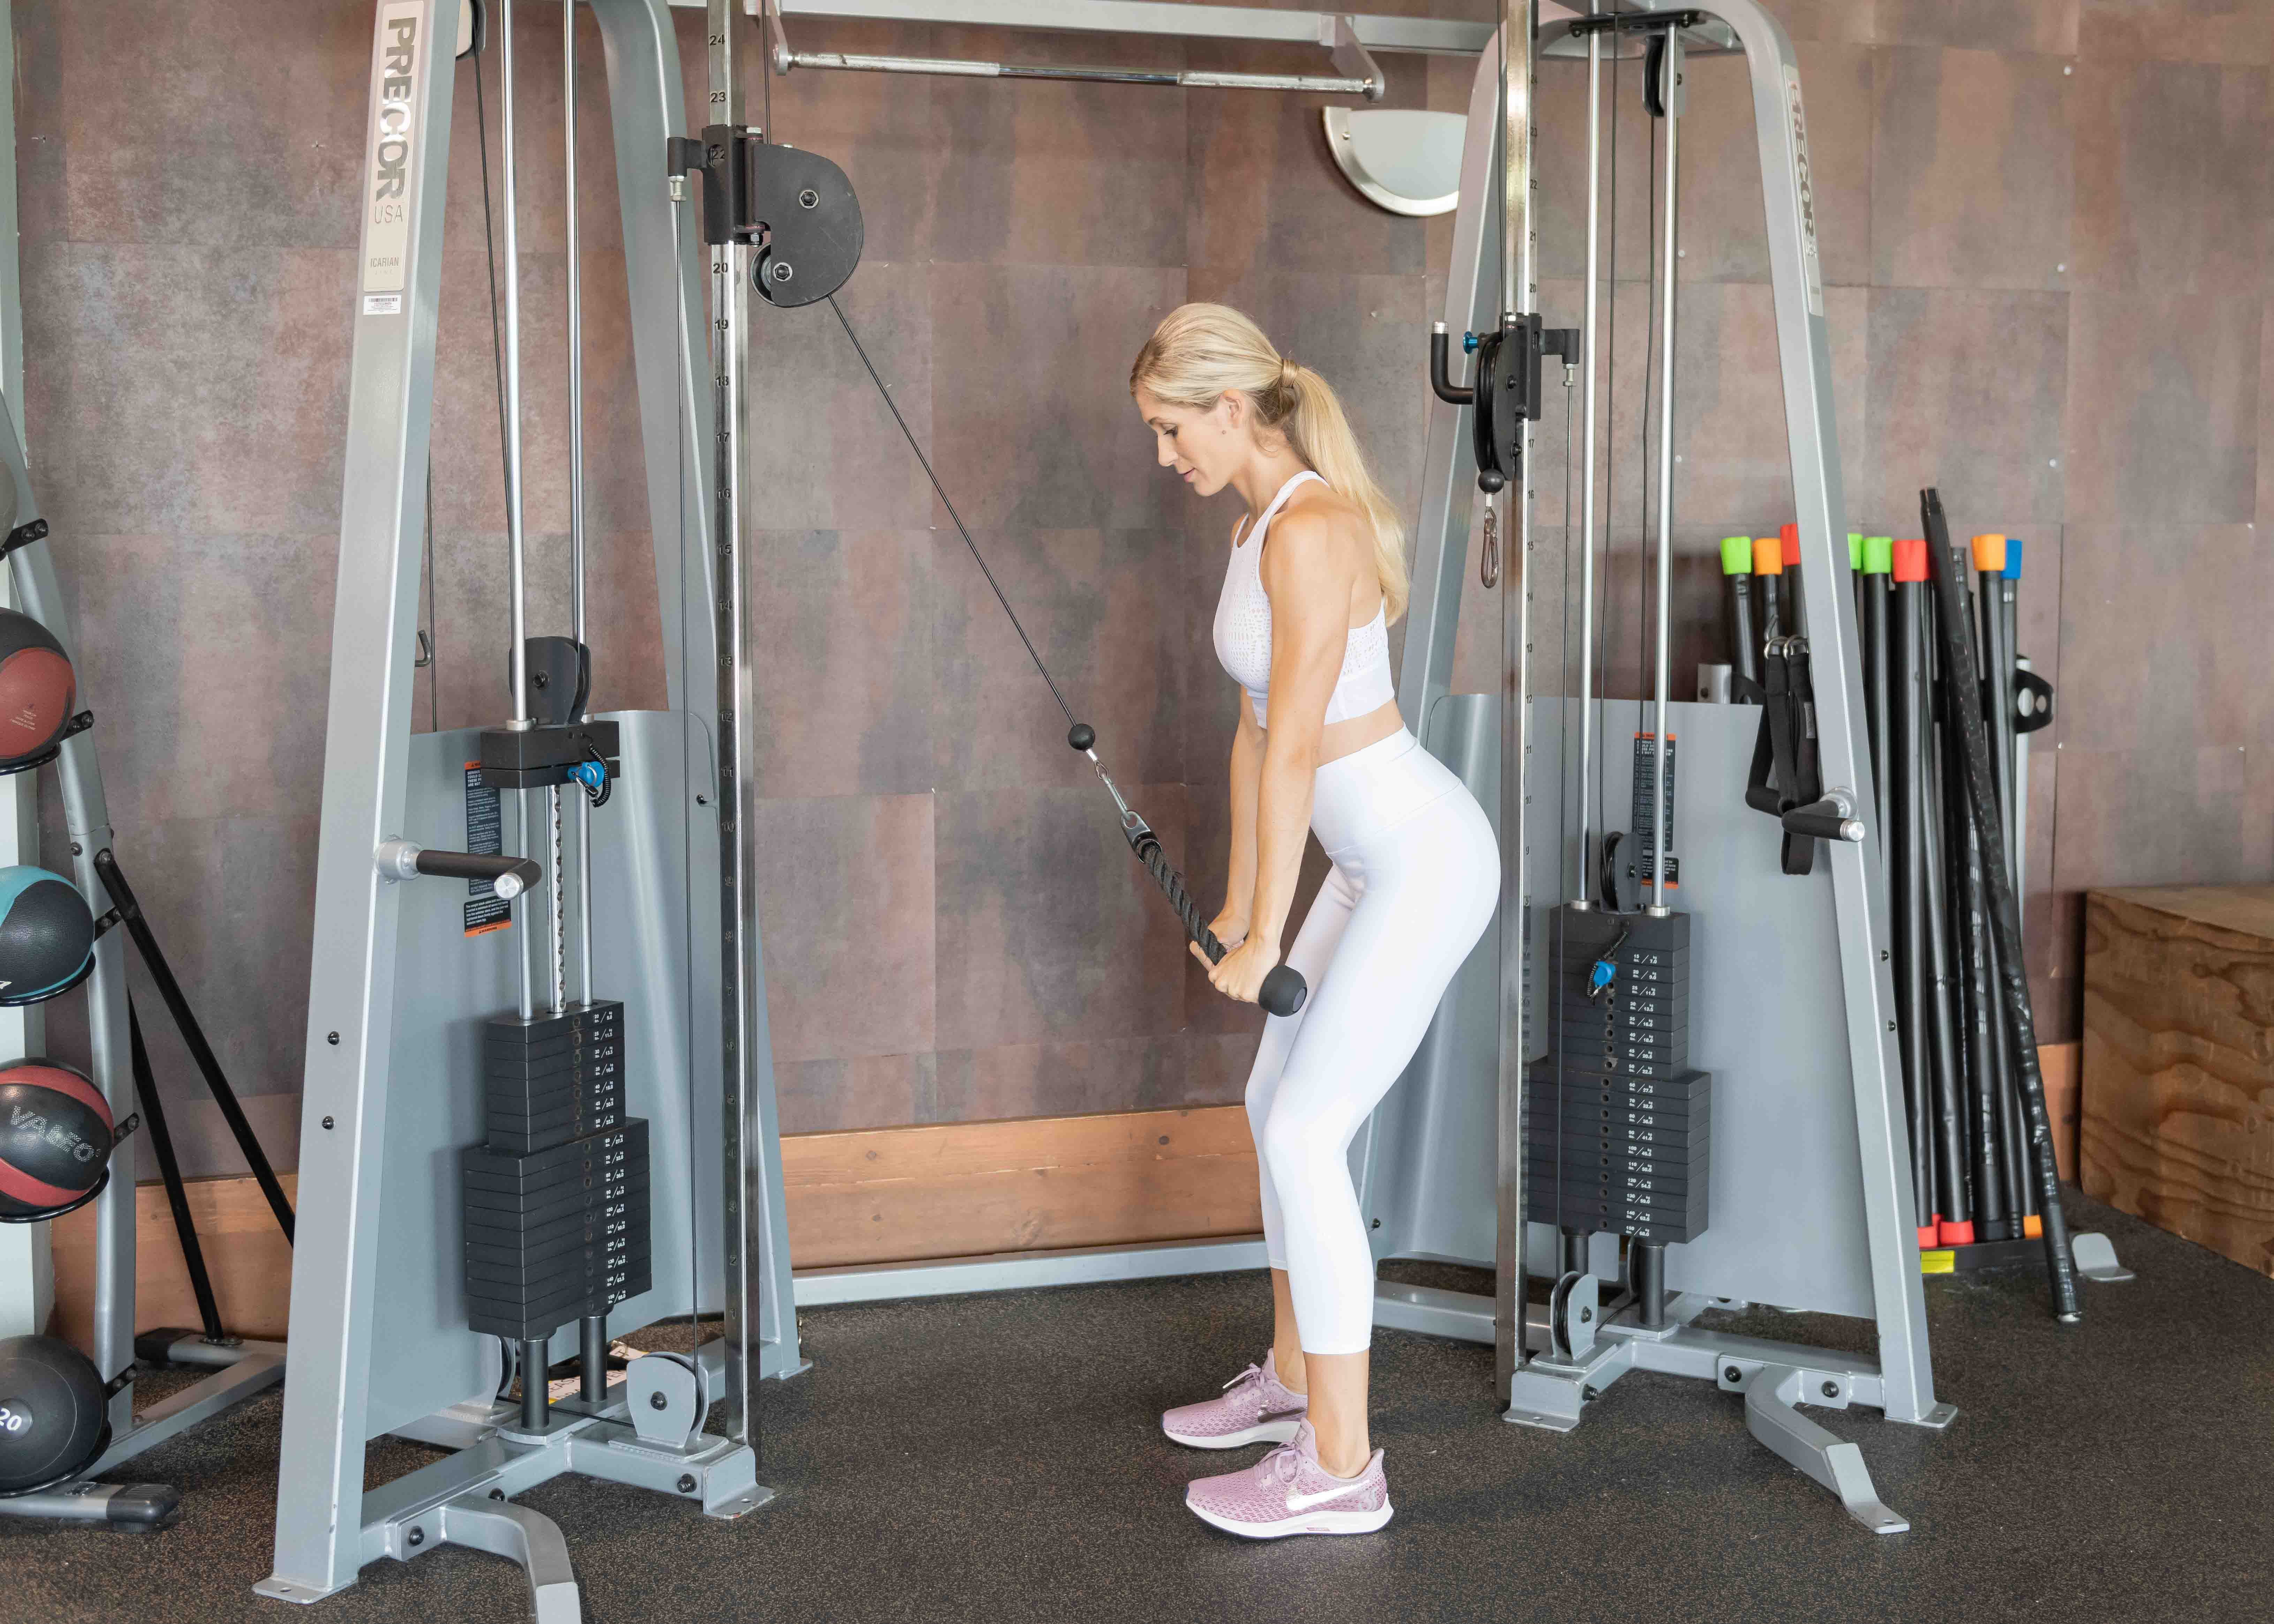
Here are the quick steps for how to make a cable machine right at your home using a resistance band. I love a home workout but there are a few pieces of gym equipment I really miss when I workout in my garage gym… a cable machine is probably my #1. I have an awesome trick for using a resistance band and a door/door frame to create your own cable machine.
Real quick… before we begin…
1. you may want to read this blog post first if you’re looking for a resistance band?
BUILD A HOME GYM ON ANY BUDGET (here)
This is the exact equipment I have in my home gym. I divided it by budget: $50, $100, $250 and $500 so you can start building your gym?
and
2. I want to briefly explain why a cable machine / resistance band?
BENEFITS OF USING A CABLE MACHINE + RESISTANCE BAND
The greatest benefit I see to a cable machine and resistance band is that it creates constant muscle tension. I think the best way to explain this is to compare it to a dumbbell movement. With dumbbells, there are points at which the muscle is not being worked. For example… let’s take the bicep curl exercise. At the top of the movement when the dumbbell is closest to your body, there is a loss in the muscles recruited because the range of motion is “complete.” Similarly, when the dumbbell is lowered back down and at the very bottom of the movement, we lose muscle tension as well. With a cable/band, we are forced to contract our muscles and a lot of them throughout the entire movement.
Cable machines/resistance bands also allow you to work from many different angles and directions. In contrast, think of a machine at the gym. Your body has to follow the set path of that machine (ex: leg press or shoulder press). With a cable or band, you pick the direction and angle.?
Basically, I LOVE cables and bands, and find them a very effective part of a workout program.?
HOW TO MAKE AN AT HOME CABLE MACHINE
STEP 1: GET A RESISTANCE BAND
You don’t need a new resistance band. In fact, I have used the exact same ones for 3+ years and they still work great. I do like having varying levels and nowadays most ones you buy come in a pack.
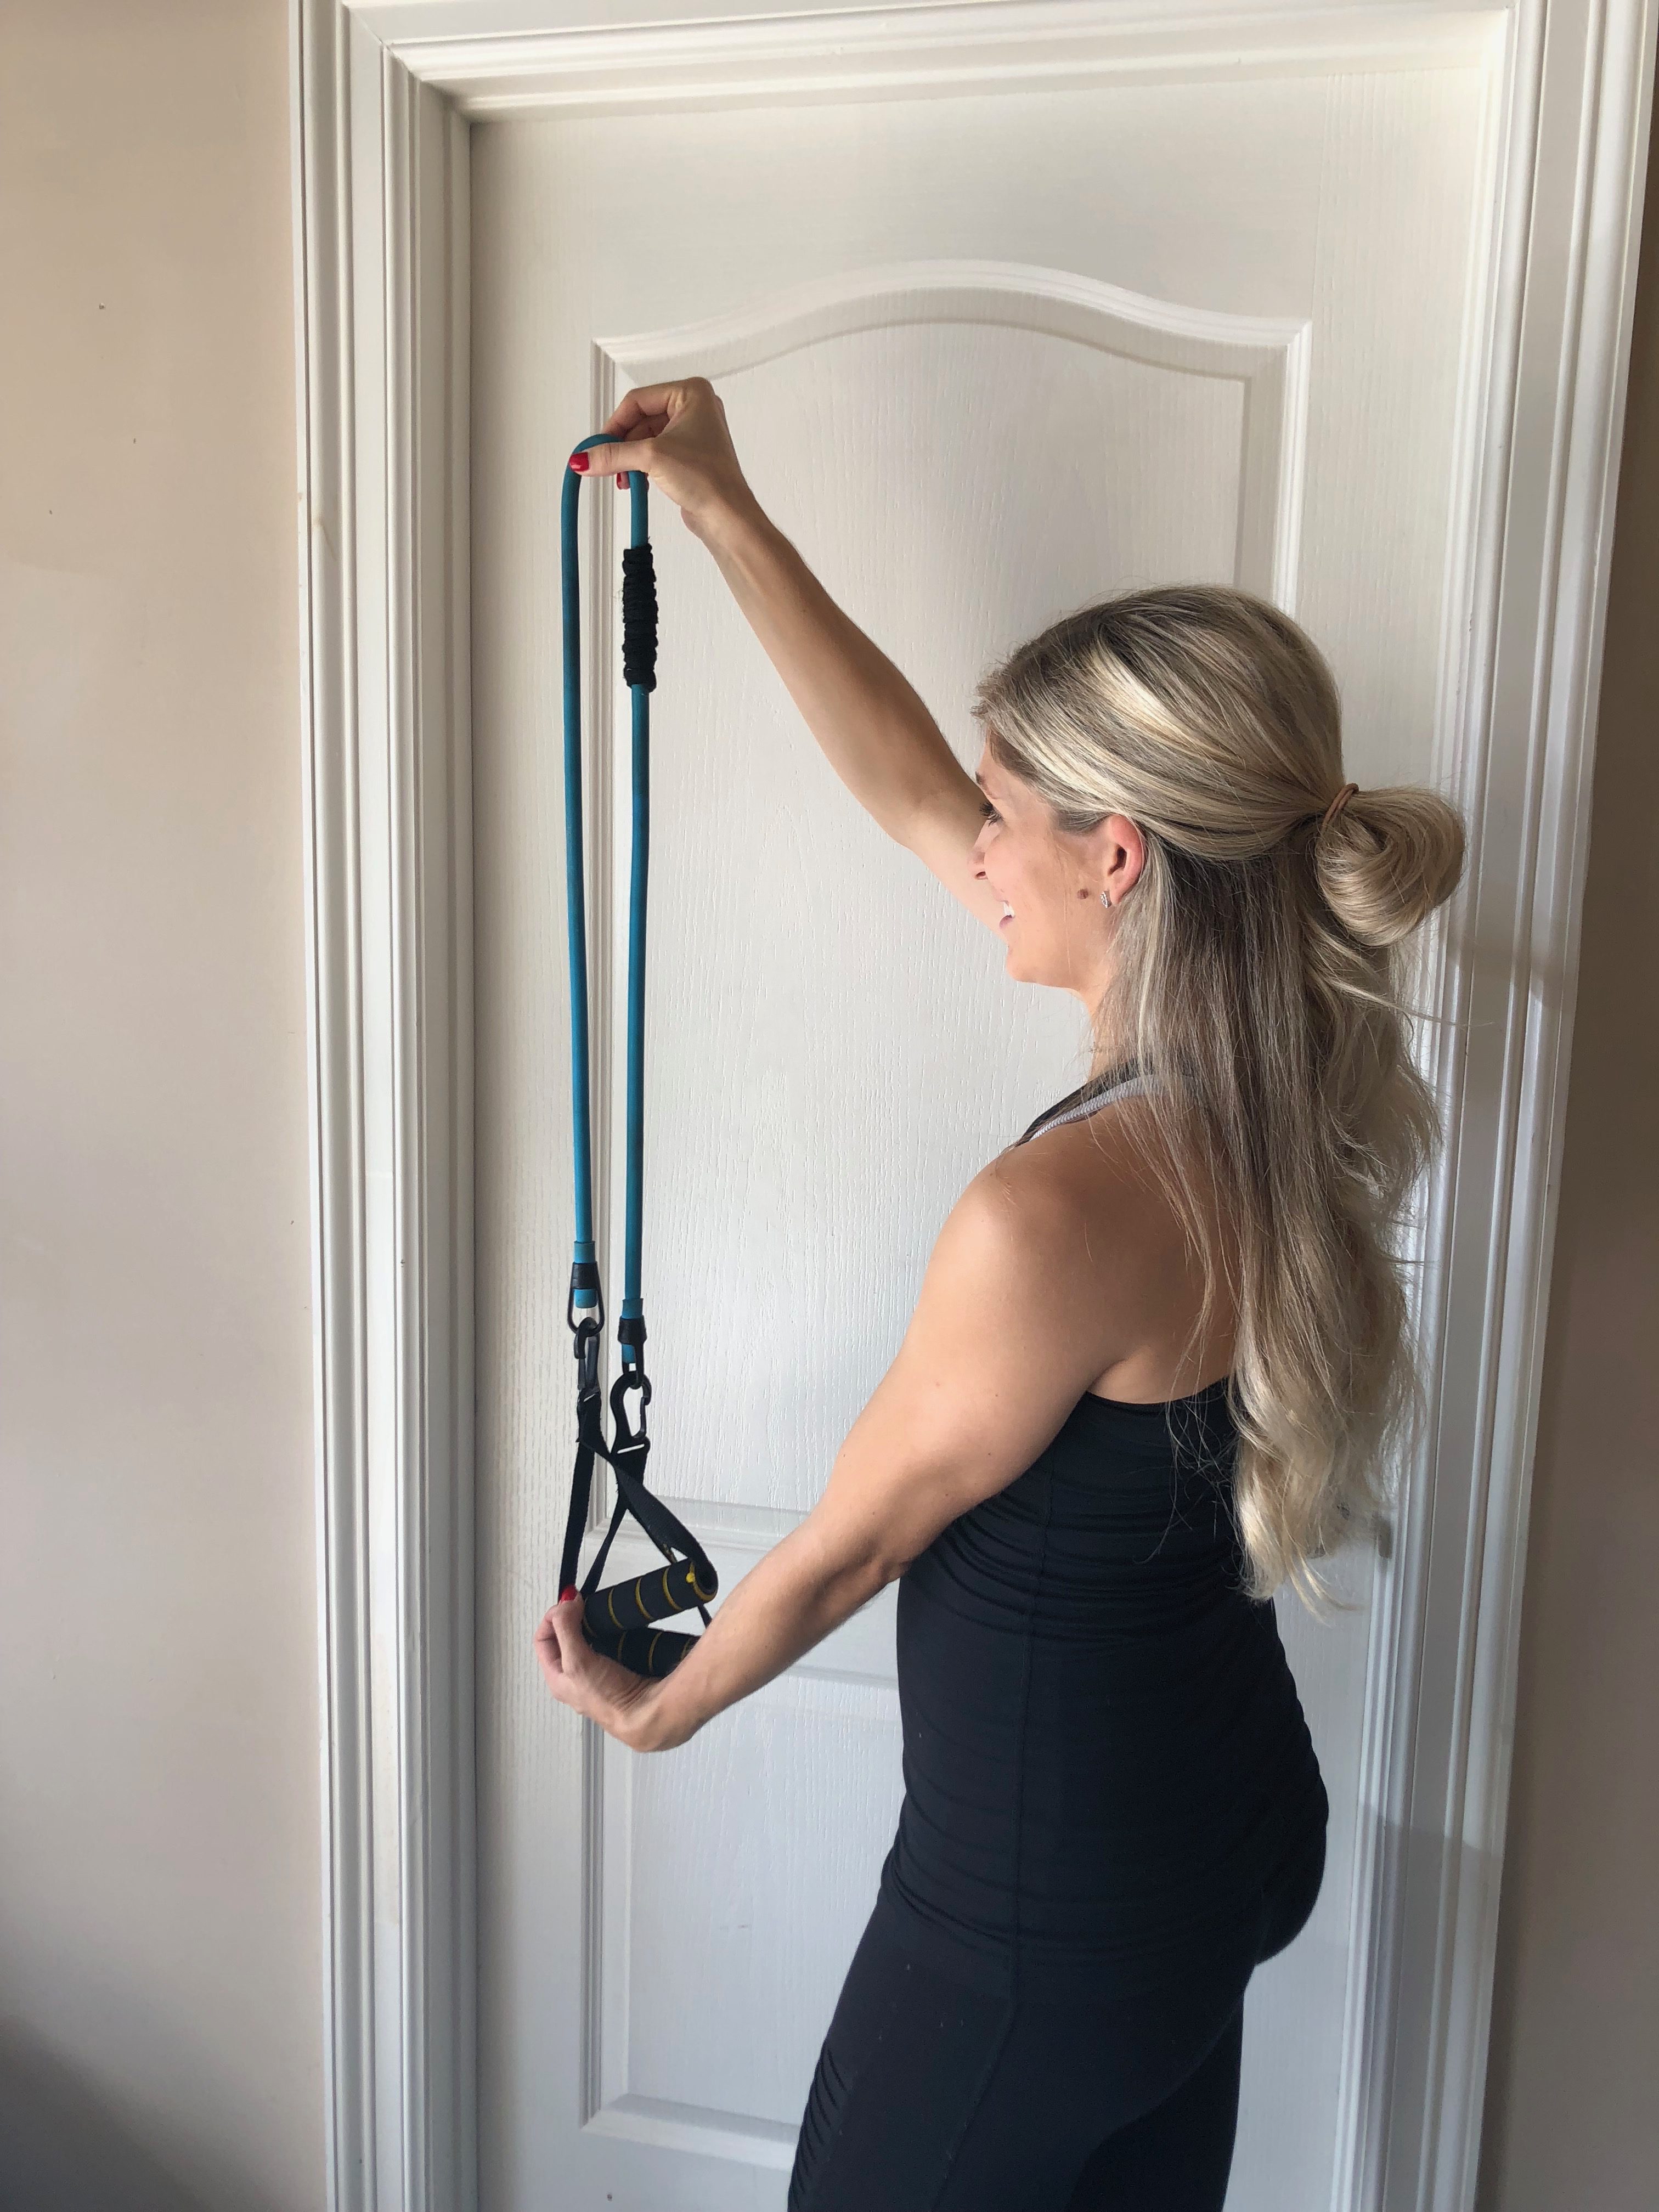
STEP 2: FOLD THE BAND IN HALF
Fold the band at the center
STEP 3: FIND A DOOR/DOOR FRAME
I should say… find a sturdy door and door frame. I workout in my garage gym so the door between my garage and home is the perfect door for this.?
STEP 4: INSERT THE BAND BETWEEN THE DOOR & FRAME
Open up the door and insert the folded resistance band in the space between the door and it’s frame. Think of this like a cable machine. With a cable machine, you set the height. You may have a higher height for an exercise like tricep pushdowns and a lower height when completing bicep curls.

STEP 5: SECURE YOUR BAND
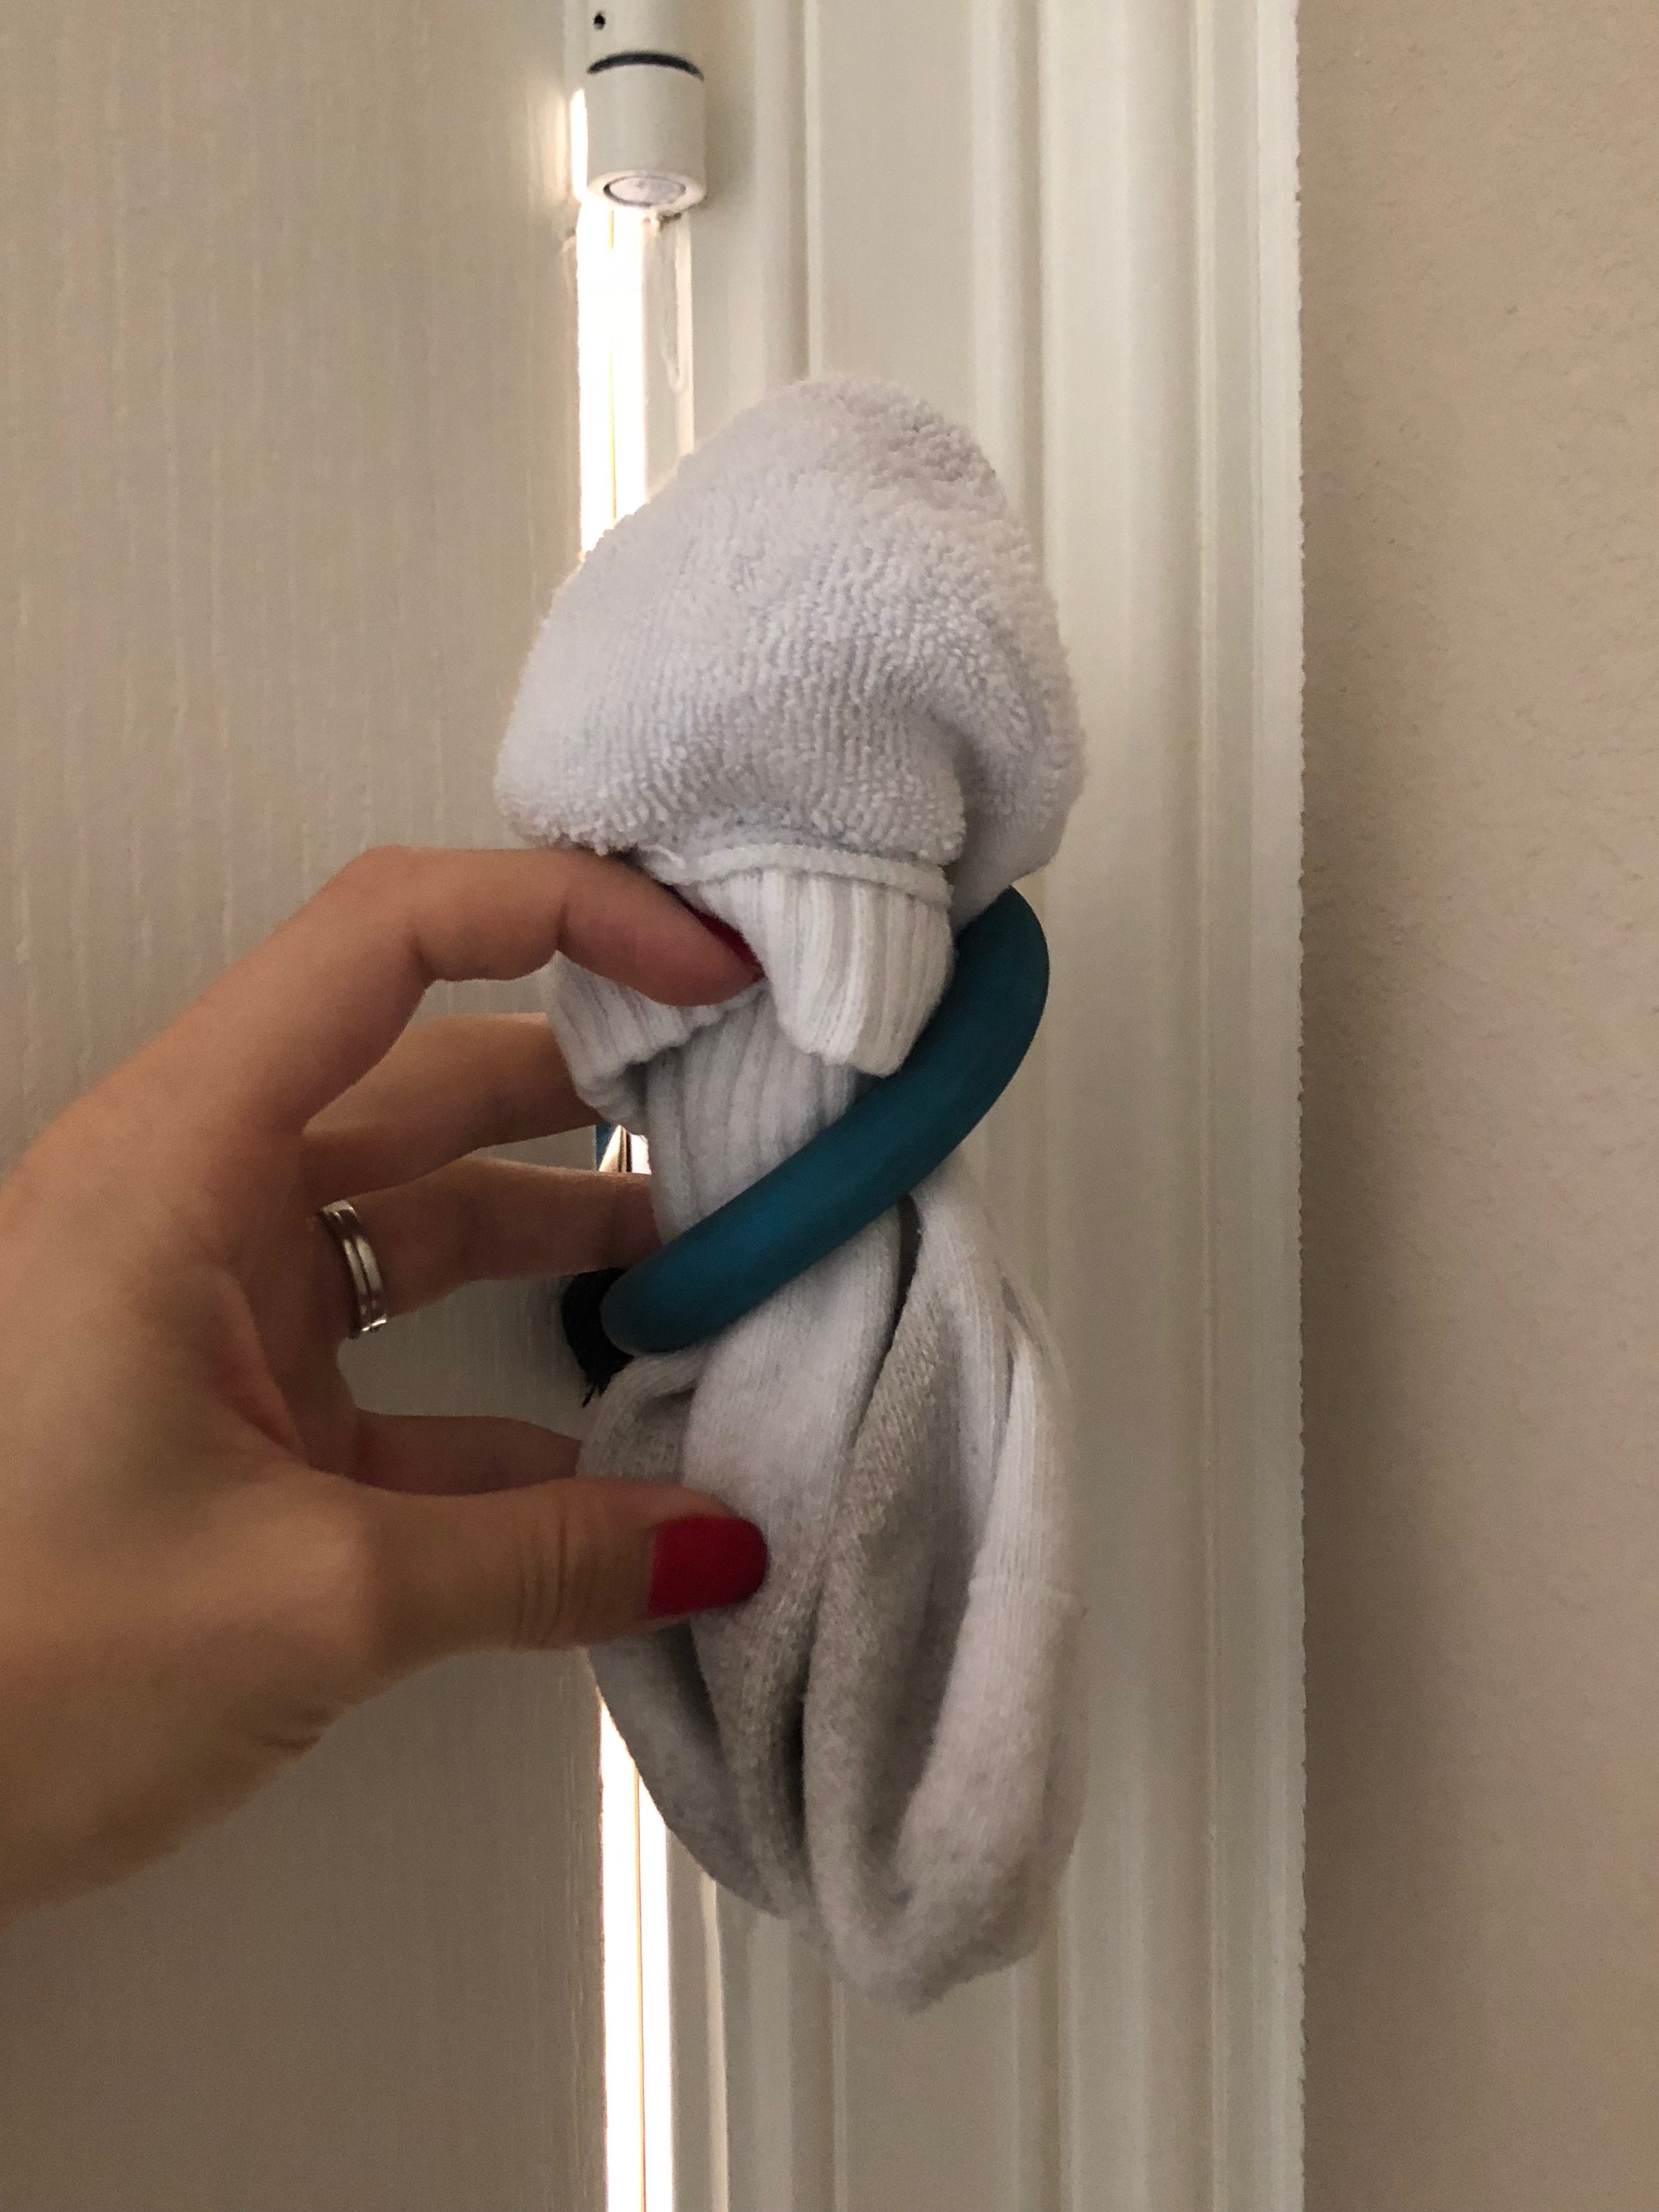
Use a water bottle or sock on the side of the door opposite you to secure your band. When you insert the band between the door and the door frame, leave a little space in the loop to place the sock or water bottle. You may need someone to help you with this step. A lot of resistance band sets come with a thing that actually is intended for this. To be honest… I often skip this step but it does protect you from the band sliding out.
STEP 6: GET TO LIFTING
Now, you have a complete at home cable machine using a resistance band. You’ll be able to complete movements that you may not have previously been able to and it didn’t cost you a thing!

